

Nowadays, there are more binding choices than ever, thanks in part to the rising popularity of backcountry skiing. That’s great, but it can be overwhelming, especially for beginners just getting into the sport. So if you, dear reader, fall into that category, check out our simplified guide below. We break down the four major binding types and make a few recommendations for each.
Alpine
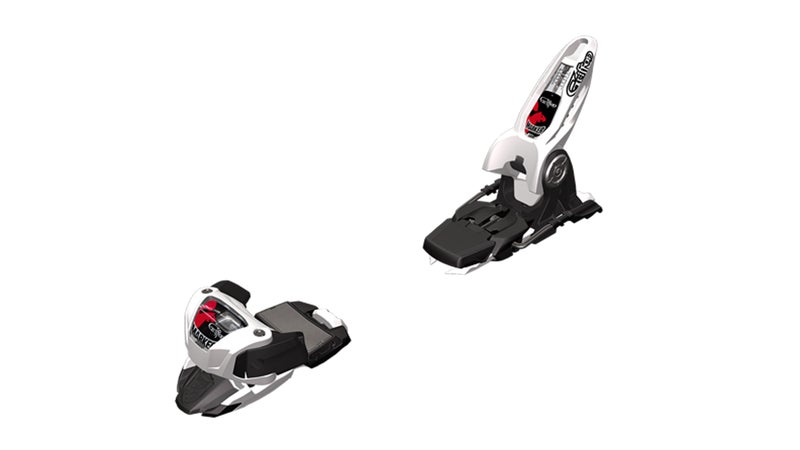
Recommendations: and
How They Work: This is your traditional downhill binding. It’s meant to keep your boot locked down at all times and can’t be used for skiing uphill or backcountry touring.
Pros: The vast majority of alpine bindings are strong, reliable, durable, and safe, so you can ski them hard going downhill. They’re also typically less expensive than alpine touring bindings (see below).
Cons: You can’t go uphill or into the backcountry with these bindings—unless you boot-pack with the skis on your back.
Best For: If you’re skiing only inbounds, lift-accessed runs, this is what you want.
Frame Alpine Touring (AT)
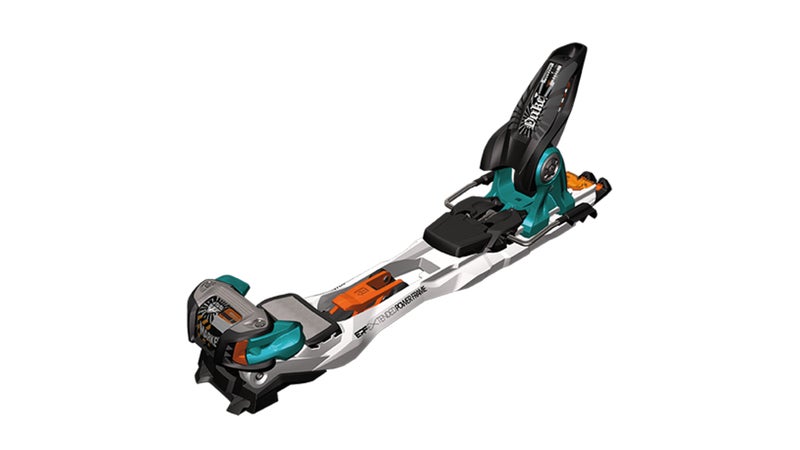
Recommendations: and
How They Work: These are alpine bindings that you can use to go uphill and into the backcountry. A plate under your foot holds the toe and heel piece together but releases from the ski at the heel and pivots at the toe so you can walk with skins on your skis. When you’re ready to descend, lock the plate down and the bindings will function almost exactly like a standard alpine binding.
Pros: Frame AT bindings are often less expensive than tech AT bindings (see below), plus they’re more durable, more powerful, and safer. They also work with any alpine boot that has a walk mode.
Cons: They’re significantly heavier than tech AT bindings (we're talking double or triple the weight), and they cost more than alpine bindings.
Best For: Downhill skiers who stick mostly to the resort but want to ski uphill before work and don’t mind a weight penalty.
Tech Alpine Touring (AT)
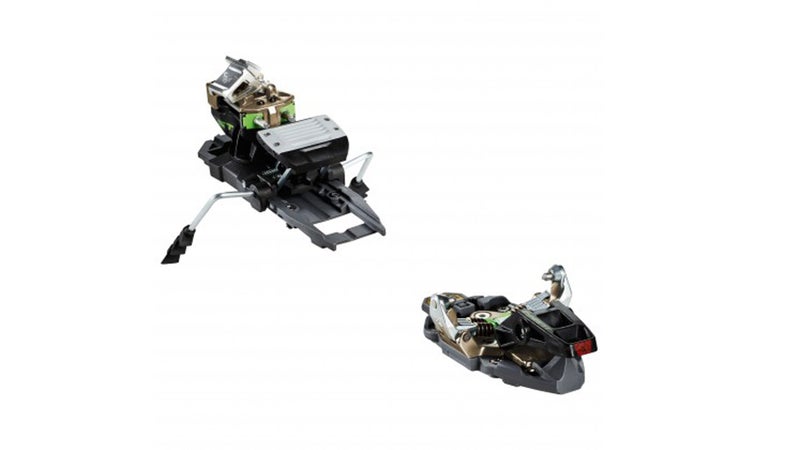
Recommendations: , , and
How They Work: There are several different types of tech bindings, but all share two design features. The first is a toe piece with two metal pins that slot into holes on the sides of tech-specific boots. These pins allow you to pivot your toe when you’re walking uphill. The second feature is a heel piece that releases from your boot but stays on the ski (unlike frame AT bindings, above) when you’re walking uphill or skinning through the backcountry.
Pros: Tech AT bindings are the lightest options on the market—key for long days in the backcountry.
Cons: They’re expensive—usually $200 more than frame AT bindings. They also only work with tech-specific boots (which are lighter and more walkable than alpine ones), and they’re more finicky than any other binding on this list. Expect a learning curve.
Best For: Experienced backcountry skiers interested in long tours, or skiers who want to move fast and light while skiing uphill at the resort. A sturdy tech binding like the Dynafit Radical 2.0 will serve you fine for limited inbounds skiing, but it isn’t intended for long lift-accessed days.
Telemark
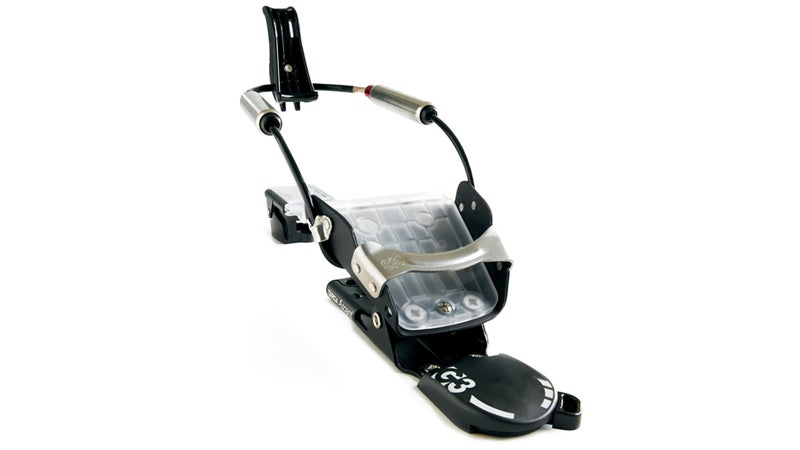
Recommendations: , , and
How They Work: These are the original backcountry bindings. Your heel is never locked down in a telemark binding, meaning you can always pivot your toe. Most wrap a cable around your heel that provides tension and control when you drop a knee to make a turn. The newer forgo the cable, keeping your heel tensioned with springs under the boot. Note: There are both touring and nontouring telemark bindings. The touring bindings allow your toe to pivot more for better uphill mobility.
Pros: We love the tele turn, there’s a lot of affordable used telemark gear on the market, and the bindings have fewer working parts to fail in the backcountry.
Cons: This is basically a whole new sport. It’s harder to make a turn with a telemark binding, which means you get more fatigued in-bounds and in the backcountry.
Best For: Traditional skiers who want a new challenge.