
There鈥檚 a reason backcountry riding is the largest growth sector in聽the snowsports industry: A world of wonder lies beyond the ropes. With聽untracked slopes and an earn-your-turn ethic, backcountry skiing and聽snowboarding has never been more popular than it is now. But exiting聽the resort boundary also means leaving the security of ski patrol and聽avalanche control. You are in charge of your own safety and聽decision-making. Before you head out, we鈥檝e got the ultimate primer on聽everything you need to prepare for your first backcountry excursion.
1. Educate Yourself
First things first: Sign up for a backcountry safety course. At , set your location and distance and select snowsports as your activity. You鈥檒l find nearby courses on avalanche awareness, snowshoeing basics, backcountry decision-making, and more. Start with an intro course that鈥檒l cover group dynamics, route choices, and how to read an avalanche forecast. When you鈥檙e all geared up and ready to dive deeper, consider taking a multi-day Avalanche Level 1 course (find courses at ).
2. Get Safety-Equipped
The three essential items every backcountry traveler needs to carry聽and, most importantly, know how to use (see Tip #1) are a beacon, a聽shovel, and a probe. In the event of an avalanche, these are the聽standard tools that enable you to quickly locate and dig out someone聽trapped under the snow. Which ones to buy? conveniently takes the guesswork out of the聽equation by packaging the critical items together. The set comes with聽an easy-to-use Pieps DSP Sport Transceiver, a lightweight, dependable聽Transfer 3 Shovel, and the fast-action QuickDraw Tour Probe.
3. Opt for Lightweight Boots
After avalanche-safety gear, the next most important piece of聽equipment is probably your boots. You don鈥檛 have to wear alpine聽touring boots in the backcountry. A lot of touring bindings are聽compatible with standard ski boots. But your feet will be a lot more聽comfortable going uphill in a boot with lightweight design and聽walk-friendly features. have a聽carbon-fiber spine to cut weight, and its walk mode gives you a聽generous 47-degree range of motion.
4. Pick up Bindings Built for Touring
Many dedicated backcountry skiers prefer what are known as 鈥渢ech鈥澛燽indings, or lightweight bindings that rely on two sets of pins to聽hold the toe and heel of your boot in place. Although they鈥檙e聽extremely efficient on the way up, not all of them are as great for聽skiing down. Marker鈥檚 new tech binding, the , is. Thanks to聽a 13 DIN setting, it鈥檚 strong enough for high-performance descents,聽plus it has a one-click switch from walk to ski mode and an easy聽step-in.
5. Choose the Right Skis
For general backcountry use, look for a pair of touring skis that聽won鈥檛 weigh you down but are wide enough to float through powder.聽 are made with a wood core and聽carbon fiber for a featherweight feel with sturdy performance. Plus,聽they have a just-right 95-millimeter waist, as well as a tip and tail聽rocker for slicing through deep snow.
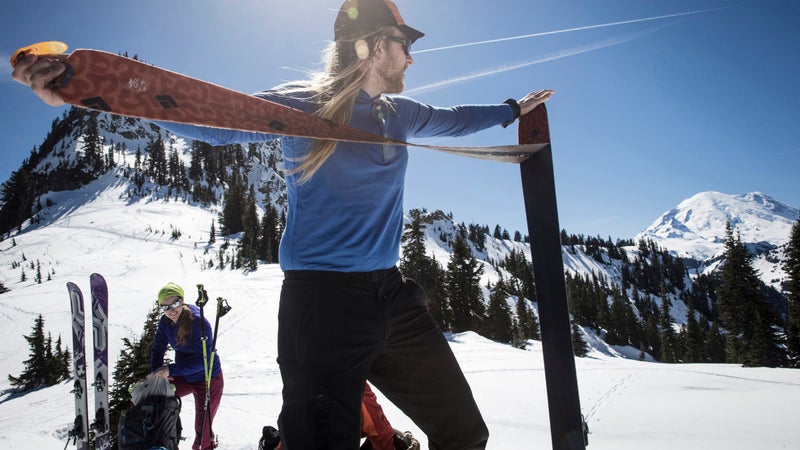
6. Score Climbing Skins
Without climbing skins, you鈥檙e not going anywhere: Skins stick to the聽bottom of your skis to give you traction and glide to go uphill. can be trimmed to fit a聽range of skis. (You鈥檒l want the 95-millimeter size to fit the Blizzard聽skis mentioned in #5.)
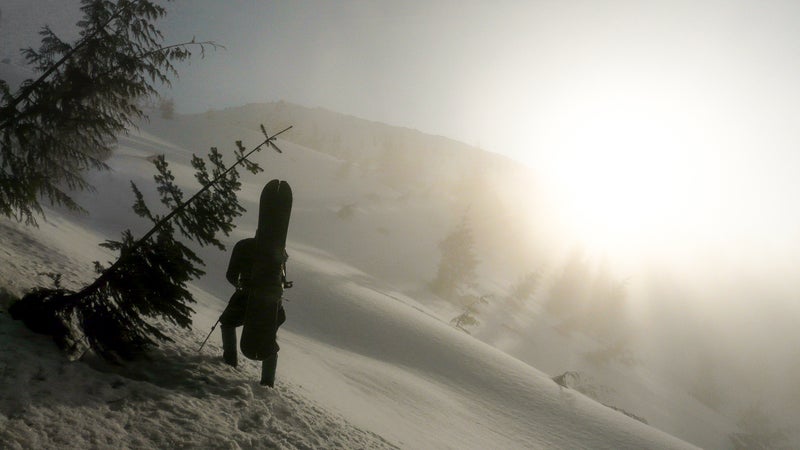
7. Snowboard the Backcountry
The backcountry isn鈥檛 just for skiers, it can be a snowboarder鈥檚聽paradise too. Get equipped with a splitboard, like , which breaks into two wide planks for the way up and then聽transforms into a light and playful snowboard for the downhill. You鈥檒l聽also need some splitboard-specific bindings, like , that use a pin system to allow you to quickly聽transition from uphill to downhill mode, and splitboard skins like聽Voile鈥檚 . Your standard snowboard boots will聽work just fine.
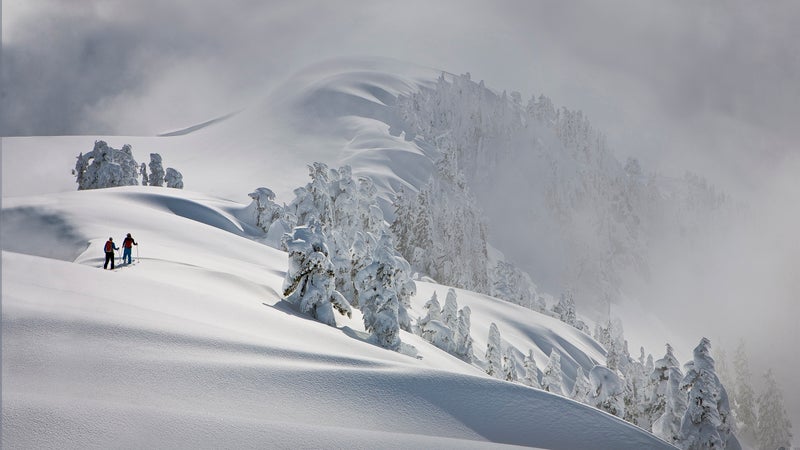
8. Practice Your Skills
Now that you鈥檙e all geared up, it鈥檚 time to get familiar with how聽everything works. Practice using your avalanche beacon inbounds at聽beacon-training parks, where ski patrollers bury a beacon so you can聽find it. Resorts such as Alaska鈥檚 Alyeska, Montana鈥檚 Whitefish聽Mountain Resort, Idaho鈥檚 Brundage Mountain, Utah鈥檚 Solitude, and more聽have practice fields to help fine tune your rescue chops. A growing聽number of resorts are also implementing uphill-skiing policies, so you聽can practice skinning up in a controlled environment to get in shape聽and test your gear. Check out uphill-friendly resorts like New聽Hampshire鈥檚 Bretton Woods, Utah鈥檚 Brighton, Washington鈥檚 Stevens Pass,聽California鈥檚 Sugar Bowl, and others.
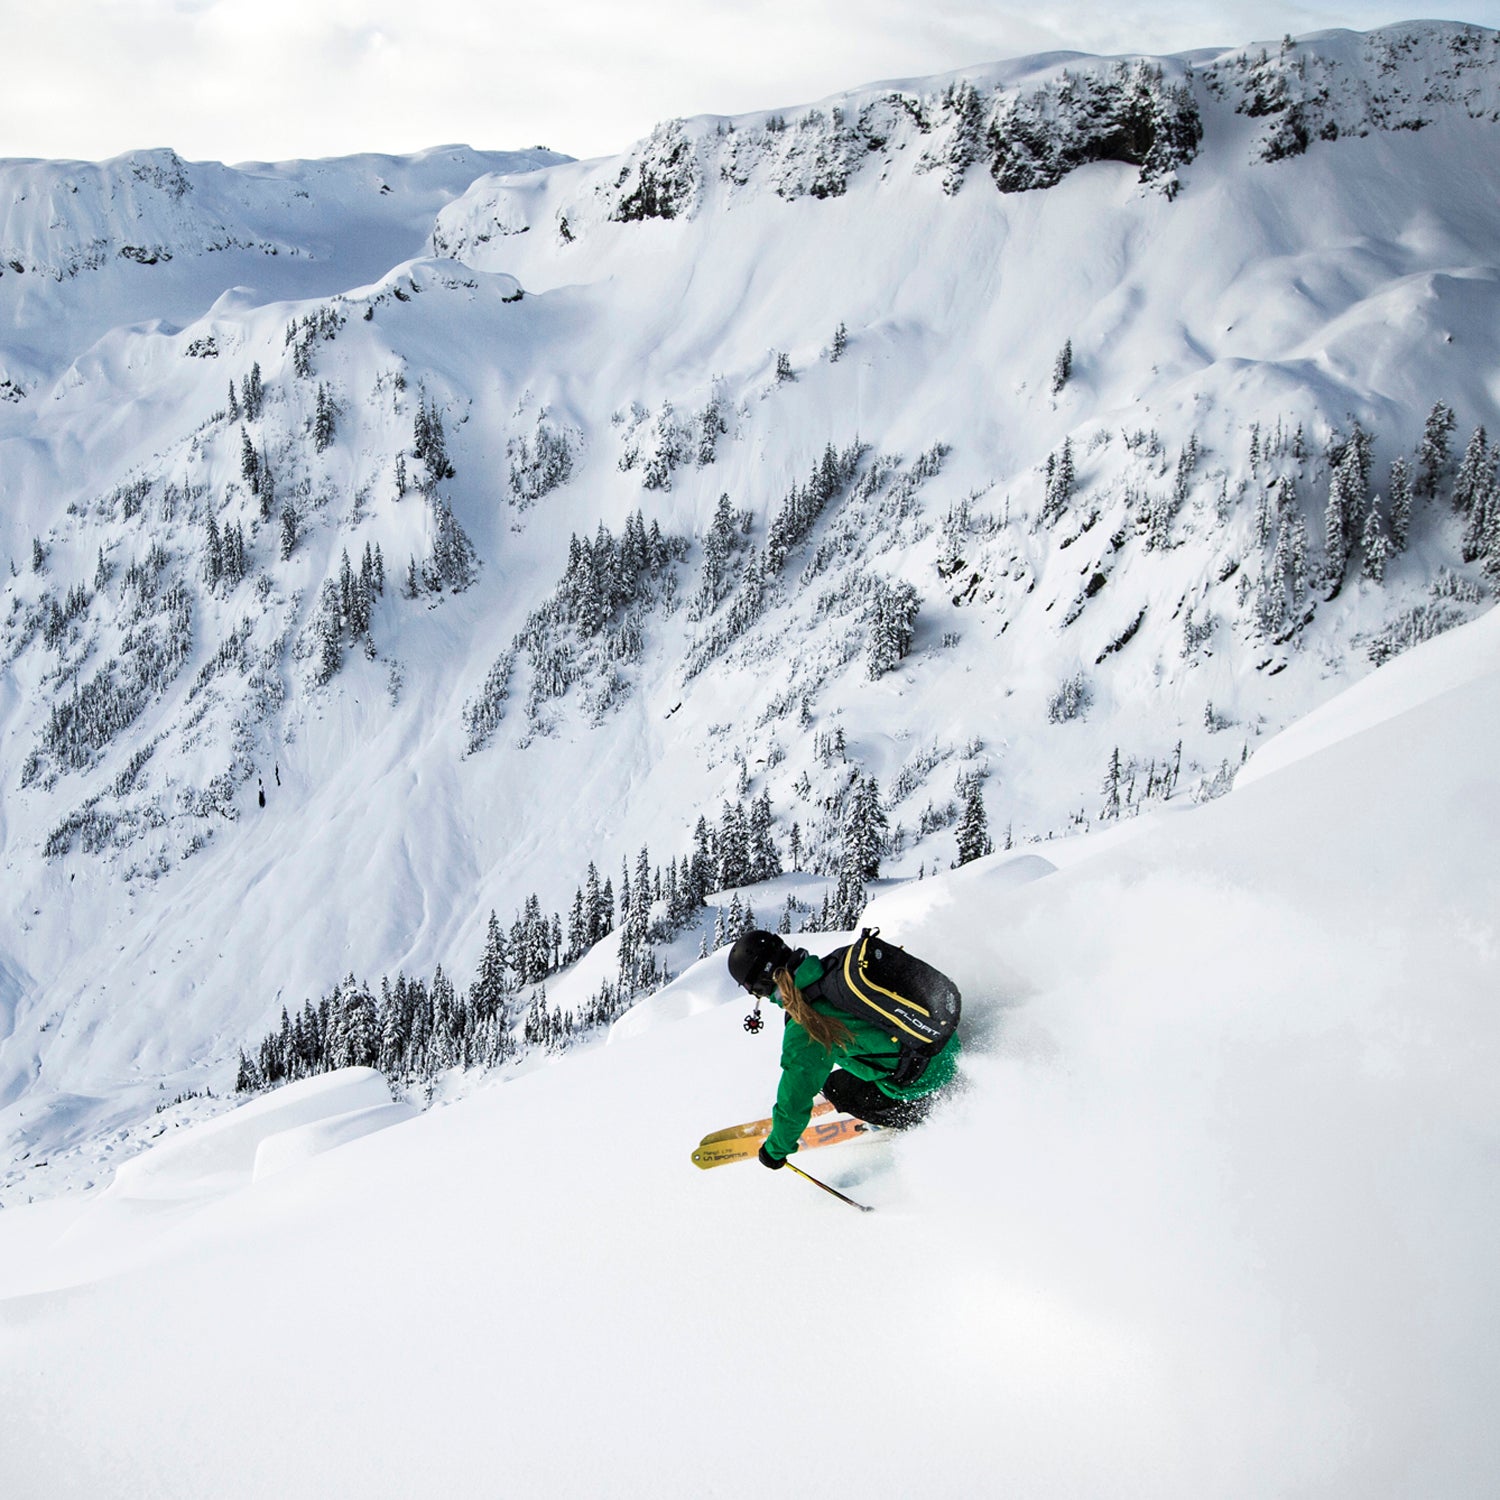
9. Consider an Airbag Pack
Airbag backpacks are designed to keep you afloat and protected in case聽of an avalanche, and they have been known to reduce fatalities in聽worst-case scenarios. utilizes a new jet-fan technology to inflate the airbag,聽which makes it easier to travel on airplanes than with packs with聽compressed-air cartridges. The pack鈥檚 28-liter size fits all of your聽backcountry safety gear. Bottom line: This pack isn鈥檛 a life聽preserver. Make smart decisions to avoid getting caught in a slide in聽the first place.
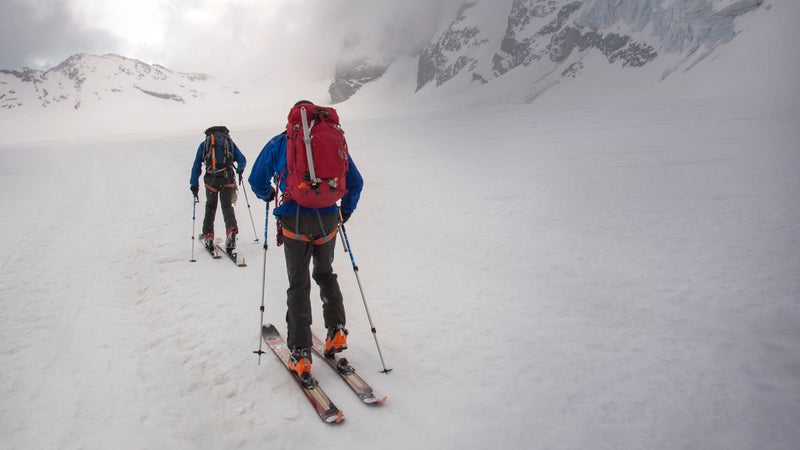
10. Find Good Partners
Who you choose to head into the backcountry with is just as important聽as having the right gear and knowing how to use it. More accidents in聽the backcountry are due to decision-making errors rather than聽misreading the snowpack. Everyone in your party should be educated聽(see tip #1), familiar with potential routes, the weather, and the聽quality of the snowpack. Before you decide to ski a particular slope,聽make sure everyone in your group is comfortable with the decision and聽knows the order you鈥檒l ski in and the location of all safety zones.