
This story was originally published by .
There is no official hiking season. Some places are mild and hike-friendly year-round, but in many parts of the northern hemisphere, the weather and trail conditions are only good for trekking from late spring all the way to mid-November. That’s six solid months for day hikes, backpacking, mountain climbing, and scrambling. Add snowshoes or skis, and there’s no reason you can’t get into the backcountry all year round.
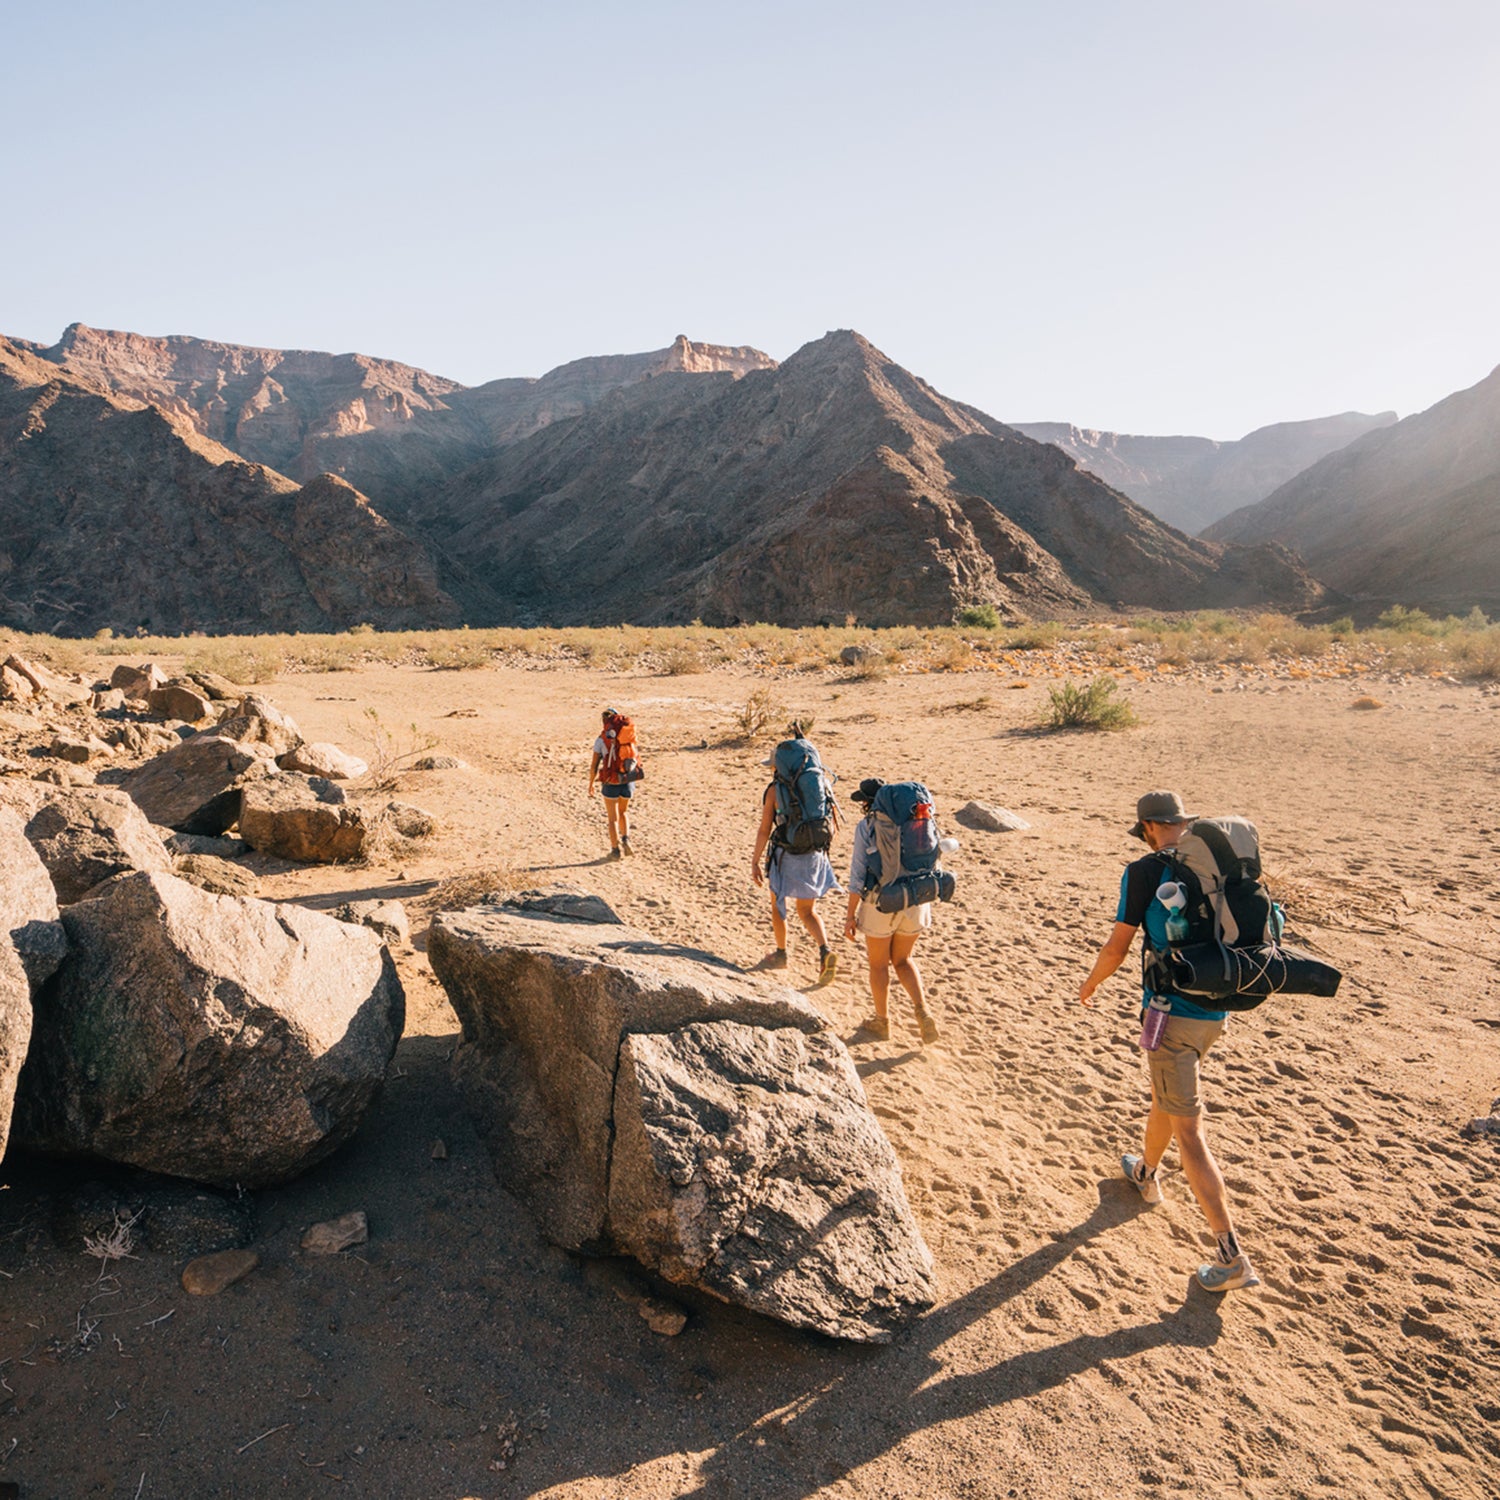
But if you think you can just hop off the couch after a long layoff, slip on your boots, and hit the trail, think again. Most trails are uneven and have at least some elevation gain, so even the easiest hiking requires balance and strength to avoid injury. The good news: getting back into the swing of things isn’t as hard as you think.
Start with These Basic Hiking Fitness Tips
Two of the most common hiking injuries are ankle rolling and ankle sprains. If you’re out of shape or just haven’t been active for a while, start with some basic exercises to warm up your muscles and get your heart rate up.
- Run or walk in sand: It builds the muscles that protect your knees and ankles.
- Build range of motion: Get a to strengthen your muscles through their full extension. Standing on a tennis ball or is great for this too as it builds the small stablizer muscles around the ankle and knee.
- Crunches: Building your core strength will help you keep your balance on uneven surfaces.
- Squats and lunges: Keep your back straight and take each squat and lunge slowly to strengthen your core muscles.
- Push-ups: Good upper body strength (especially in your back) will serve you well on long trips where you need to carry a heavier pack.
- Cardio: Getting this is as easy as walking on a trail. (City-dweller? Hitting the treadmill or stationary bike at your local gym works too.) Whichever you choose, make sure to get your heart rate up. This will help build your lung capacity so you can hike longer.
- Step-ups: Before a backpacking trip, weight your pack (use 20 lbs. to start) and step up onto a park bench 16 to 18 inches high. Add 5 pounds a week until your pack is as heavy as it will be on your hike. To prepare for an extended, multi-day hike, do this exercise three times a week until you can do 700 steps in less than 30 minutes.
Build Out Your Home Gym
You can do all the exercises on this page with a few simple pieces of gear.
Free weights: A will let you both lift and easily and precisely weight your pack.
Resistance band: Useful for lunges and other leg-strengthening exercises, can also be a rehab tool to help mitigate shin splints.
Shoes: You can use your trail shoes, but if you’re cross-training, something flatter, like the , will let you lift and run on pavement without the wobbliness of aggressive tread.
Training for a Day Hike
If you’re a beginner or haven’t been out hiking for a while, celebrate the good weather with a day hike. But first, let your body know you’re going to be pushing it beyond your afternoon stroll. If you’re planning a hike for the weekend, here are some tips to get your body in shape.
- Take yourself out for a walk two or three times during the week. Make sure to move briskly enough to get your heart rate up, and then keep it up for at least 30 minutes.
- Be sure to wear the same shoes that you’ll be wearing on your hike. A sure-fire way to get blisters is to walk for a long time in shoes you haven’t worn in a long time (or at all).
- Carry a lightly-weighted daypack on your weekday walks. That way, you’ll make sure you’re prepared to tote your essential gear.
The Three Best Exercises to Get in Shape for Hiking
Lunges
Hold equal weights in both hands. From a standing position, step forward until both legs are bent at 90 degrees. Push up, bringing rear foot forward. Repeat with the other leg.
Poor Man’s Leg Curl
Lay flat on the floor and scoot your hips toward an elevated bench. Place your left foot on the bench. Lift your right leg up as high as you can bear. Press your left foot down into the bench, clench your glutes and hamstrings, and raise your hips off the ground. Do 10, then repeat on the other side.
https://youtube.com/watch?v=cZxFQ7hSe7Y
Band Walks
Tie a resistance band around your legs, just above the knees, so there’s tension while you stand with legs at hip-width. Stand straight, tuck your abs, put your hands on your hips, and walk sideways while maintaining the band’s tension between your shins.
Go Harder
Take your fitness to the next level with our .
How to Avoid Injury on Steep and Rocky Trails
It may seem like a welcome break after a hard hike to the top of a peak, but don’t be deceived: Downhill hiking is tough on your legs, toes, and especially knees. On the downhill segment of a hike, your body is holding its own weight back, plus whatever you have in your backpack, to avoid falling. This repeated pressure can lead to injury. Scrambling over rocks and uneven surfaces can also strain joints. The best prevention is to exercise in advance of the hike to build your body’s strength for the task.
How to Avoid “Hiker’s Knee”
- Exercise during the week to build up your quadriceps, calves, and hamstrings. Brisk walking, either outside or on a treadmill, is good for this. Riding a bike also targets these muscles.
- Try exercises with . Start small—5 pounds is a good goal if you haven’t done this workout before. Lie on your back with one leg bent. Slowly lift the other leg keeping your knee slightly flexed. Repeat with the other leg. To work your hamstrings, stand and lift one weighted leg behind you until it is at a 90-degree angle. Hold for a few seconds and lower to the floor slowly. Repeat on the other side.
- Do bodyweight exercises including lunges and step-ups.
- Use (see tips below on how) to help reduce the impact on your knees.
How to Use Trekking Poles
If you’re concerned about your knees or ankles, consider getting a pair of trekking poles. They aren’t just for newbies or older hikers: Poles help anyone keep their balance on very rocky or uneven terrain. They give you an extra two “limbs” to hold yourself up while you navigating the trail. People with joint issues are especially wise to invest in a pair. Here’s how to use them:
- Keep your arms in a fairly neutral position, only slightly bent at the elbows and use your shoulders to propel yourself forwards.
- Keep a relaxed and loose grip on the poles by using the straps.
- When hiking downhill, keep the poles slightly in front of you. Shorten your stride to reduce the impact on your knees. If the trail is very steep or muddy, try ramming the poles into the ground and taking side-steps up to the pole.
- When hiking uphill with poles, you should use the poles to push off, not pull yourself up the hill. Avoid planting the tip of the pole in front of your lead foot.
How to Choose Hiking Boots and Shoes
We cannot stress it enough: No matter how fit you are, your footwear will make or break your hike. More to the point, it will either protect and support your feet and ankles, or it won’t and you’ll want to rip it off your feet at mile two and throw them off the cliff. When shopping for hiking boots and shoes, make sure your pick complements your fitness and packing style: While you’ll spend a lot less energy hiking in trail-running shoes, you may need the extra support of a mid-cut boot if you’ve injured your ankles in the past. Likewise, ultralighters won’t need as much support as everything-but-the-kitchen-sink packers. Buy your boots someplace where you can be fitted by someone who knows what to look for. Some boots are so it’s worth doing some research before making a purchase.
Preparing Physically for a Backpacking Trip
If you’re planning a multi-day hiking trip, the last thing you want is to wake up on day three too sore to keep going. Give yourself time to prepare for several days of hiking—like anything else, you’ll want to work your way back up.
Tips for Getting in Shape for Backpacking:
- Depending on how long your backpacking trip will be, give yourself up to a month to prepare. Take yourself on walks and shorter hikes three times a week.
- Make sure to wear the same boots you’ll wear on your trip. If you’ve just bought new boots, give yourself time to break them in. Wear them around the house for a few days, Then build up to a short walk. Finally, take a hike with them on, paying attention to any sore spots on your feet.
- Wear your backpack on hikes. Gradually increase the load until it’s as heavy as it’ll be on your trip.
- Lift to build up your strength.
- Sore joints? Swim to build strength and lung capacity while they recover.
Basic 9-Week Early-Season Training Program
Fitness coach Jordan Smothermon recommends building a good strength base early in the season (early spring, for those who live where winter isn’t good for hiking). As you need more endurance, you can easily trade short-burst power for long-burn performance. Think of your muscles as a savings account for fitness. As you move from segment to segment, build on the fitness and strength gains you’ve made.
- Weeks 1-3: Strength-training 3 days per week, 1 hour/session. “Put on strength now and you’ll have muscle that you can later sacrifice to build up your endurance,” Smothermon says. Keep rest periods to a minute or two: “No time to flex in front of the mirror.”
- Weeks 4-6: Add one endurance workout every week for 45 minutes at moderate intensity (e.g. jogging, hiking).
- Weeks 7-9: Increase the intensity of your weekly endurance workouts to 1.5 to 2 hours and add 1 day of high-intensity exercise with high output but less weight (e.g. speed hiking).
Preventing Altitude Sickness
Anyone planning a hike that will take them above 8,000 feet, especially flatlanders, needs to know how to recognize and treat altitude sickness. Medical experts have researched the best ways to beat altitude sickness and stay healthy overall at high elevation, but here are the most important tips to keep in mind.
- Give yourself time to acclimate to the elevation. Gradual gain spread out over a number of days is key.
- Symptoms including headaches, insomnia, and nausea usually wear off in a day or two
- Drink plenty of water and avoid alcohol.
- Eat a lot. Trekking burns a lot of calories.
- Keep your pace slow.
- If you do have headaches, ordinary painkillers, along with rest and hydration, may help.
- The surest cure for altitude sickness: go down. If your symptoms fail to improve or worsen, retreat to a lower elevation.
Tips for Getting in Shape for Mountain Hiking
Mountaineering, technical or not, is a huge strain on the body. Steep ascents to high altitude tests your lung capacity and requires extra strength. At higher elevations, the weather is also less predictable, .
“Mountain athletes put their bodies on the line,” says Smothermon,. “The way to test our fitness is, if the weather changes, can we get down or out quickly and safely?”
Training for mountain hiking requires all of the same gradual conditioning as backpacking, Smothermon recommends starting earlier and adding weight-bearing exercises. It takes at least six months to prepare for a basic mountaineering trip. Mt. Rainier, for example, is a 9,000-foot elevation gain on snowy and crevassed with only ⅔ of the available oxygen compared to sea level. Add a 50-pound pack and you’re looking at a major undertaking.
Six-Month Training Program for Mountain Hiking
If you’re planning a mountaineering trip in the summer, start your conditioning around New Year’s. (Pro tip: Training for a big goal makes for a great resolution.) Conditioning for a mountain hike is best done in three phases:
- January/February: Foundational strength and cardio exercises to get in shape, focusing on lower back muscles, thighs, and calves. Alternate during the week between taking a run and hitting the gym.
- March/April: Push yourself further during this phase by running further and faster. Add to your load while weight-training. This will help you build lung capacity and strength.
- May/June: Taper off on the weight-training. This is the time to maintain fitness. Keep up the cardio and weights, but just back off a bit so you’re in peak condition for the mountain.
Getting in Shape for a Thru-Hike
A thru-hike is a commitment. Hiking a trail end-to-end involves long distances and takes multiple weeks, if not months. If you’re planning to hike the Pacific Crest Trail or the Appalachian Trail, you’ll need to consider mental as well as physical preparation. A thru-hike is like a pilgrimage. Give yourself six months to get ready, both physically and mentally. It’s smart to really consider what weeks of hiking will feel like and .
The Pacific Coast Trail is 2,650 miles long and takes about five months (the entire snow-free season) to complete. A thru-hike of this length is different than a backpacking trip because the first weeks can act as part of the training. Use shorter hikes to train for your thru-hike and set up a six-month conditioning schedule with cardio and strength-building exercises.
The best way to prepare is to check out the You might be wondering how to condition for your first thru-hike, or even how to work a months-long hike into your life without quitting your job. Whatever your question, the will have the answer.