How to Turn Your iPhone into the Ultimate Travel Camera
You don't need to invest in a lot of equipment and expensive photography classes to get high-quality shots. Just use these simple tricks, courtesy of a professional travel photographer.
With every new release, iPhones are catching up to bulky��professional photography gear, offering something compact in size, an increased megapixel count, and drastically improved low-light performance. But having an iPhone alone isn’t enough to ensure that your shots will be crisp and beautiful—and Pei Ketron is proof of that. A photography teacher and commercial photographer whose��clients include American Express and Turkish Airlines, Ketron works using��DSLR, medium-format film, and, her specialty,��mobile photography. Here��she shares the simple tips, tricks, and editing techniques she uses to get the most out of any iPhone.
Clean Your Lenses
This may feel like a no-brainer, but a clean lens is super important and often overlooked. The tiny lenses on your phone are prone to constant finger grease and food spatter.��You know that weird haze or those distracting streaks of light you sometimes get in your images? Both are the��result of your lens being dirty. Simply wiping the lens with a cloth before taking any photos will do.
Don’t Zoom or Crop Too Much
Depending on which iPhone you have, you’ll be able to tap on-screen to switch between 1X��and 2X��zoom levels (or 0.5X��if you have the iPhone 11 Pro, with a third, wide-angle lens). For the highest-quality image, only use these preset levels, because��they are optical zooms, meaning they��come��built into your lens.��Anything in between or beyond 2X��is digital zoom, which means that the camera is simply enlarging the captured image, making it seem like you’re getting a more detailed shot when you’re really just stretching the existing pixels and compromising the quality.
The same applies to taking photos and cropping after the fact. The more you cut out, the more pixels you lose, thus compromising the pixel density of your resulting image. If it’s safe and feasible, always opt to get closer to your subject instead of using digital zoom or cropping.
Understand How to Use Exposure Compensation
The most useful feature of an iPhone camera is exposure compensation, which is a fancy name for the tool that adjusts how bright or��dark an��image is before you take it. Depending on the existing tones in a scene, the camera’s automatic light-meter reading might not be accurate, resulting in parts of your image looking washed out or too dark. To fix this, simply tap on the screen where you want the camera to focus. You’ll see a yellow square pop up with a small icon of a sun with a vertical line. You can then swipe up or down to adjust the exposure compensation to find the right balance for your setting.
If you want to take��multiple photos��in the same place, instead of��tapping on the screen where you want to focus, try pressing and holding it��until the yellow square pulsates and AE/AF Lock��appears at the top of the screen. This means that your exposure and focus are now locked, so you can change the angle of your photo without losing the exposure you just set.

Consider Add-On Lenses and Other Accessories
If you don’t have one of the newer iPhone models that comes with two or even three built-in lenses, don’t worry—you can purchase attachable lenses that allow you to shoot wide, telephoto (long focus)��and macro (extreme focus) shots. Be aware, though, that not all add-on lenses are created equal. Moment sells high-quality, durable, and compact attachments that maintain impressive sharpness.
If you don’t have an iPhone 11 Pro, invest in the brand’s wide-angle lens, because it allows you to fit more of a scene into your frame, which is particularly helpful if you want to capture your larger surroundings. Moment also carries telephoto and macro lenses that aren’t built into the newest phone models, as well as accessories like straps and gimbals, which are the two-to-three-axis devices for video stabilization.

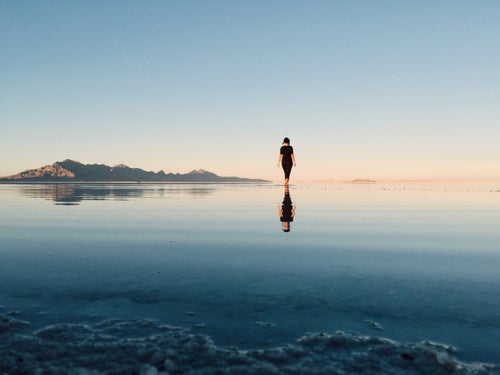
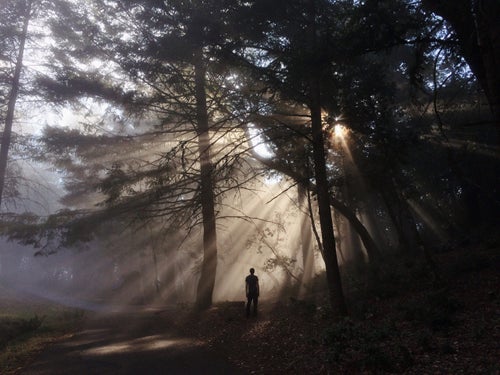
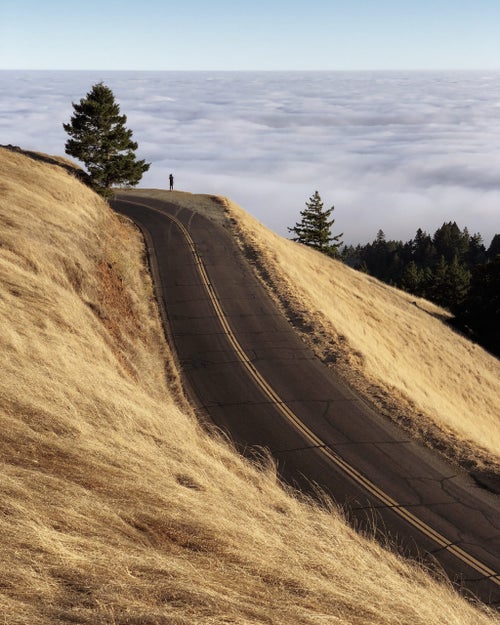
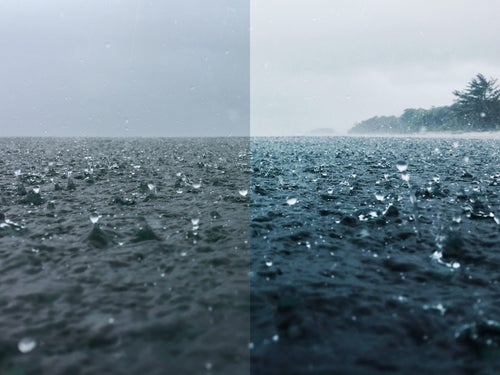
Look for Good Light
The literal translation of photography��is “drawing with light.” Professional photographers allow light and the time of day to dictate their paths and choices. As incredible as they are, the tiny sensors built into our smartphone cameras that capture light and convert it into a final image��can really be pushed to their limits in low light, resulting in grainy images.
You’ll find the best light earlier or later in the day, when the sun is closer to the horizon and the shadows are longer. The key is that��light should illuminate the face of your subject. When the sun is directly above, around midday, it can create harsh shadows. Be careful to consider the direction of the light��as well, and position yourself accordingly—try not to shoot into the sun.
Enhance Your Images Through Editing
Straight-out-of-the-camera results from the native iPhone camera are certainly nothing to scoff at, but pretty much every image benefits from at least slight tweaks in an editing app. The free Lightroom Mobile app from Adobe is a robust image editor that delivers pro-level tools without the need for lugging around a computer. It also comes with built-in editing presets (often called filters��by other apps)��and offers the ability to create your own presets. Or purchase versions from creators like Rebecca Lily or Pete McKinnon. Don’t go overboard with your edits, just use the handy in-app tutorials to learn how to enhance in simple ways, like tweaking the exposure or saturation.
As an added bonus, Lightroom Mobile has a built-in camera that allows you to shoot RAW��images, something that isn’t possible with the native iPhone camera. Shooting in RAW format, as opposed to JPEG,��results in a higher-quality image file comprised of a lot more data, which allows you to make more drastic edits to your image without a loss of��quality. Additionally, with a premium Lightroom subscription (from $10 per month), you gain the ability to back up your��images to Adobe Cloud and sync them��across all of your devices.